
These Bacon Jam Cheeseburger Sliders are everything you love about a classic cheeseburger, but taken to the next level. Juicy, seasoned ground beef is layered with melty cheese, sweet and savory bacon jam, and tangy pickles, all baked into soft slider buns brushed with garlic butter.
They’re easy to make, incredibly flavorful, and perfect for feeding a crowd.
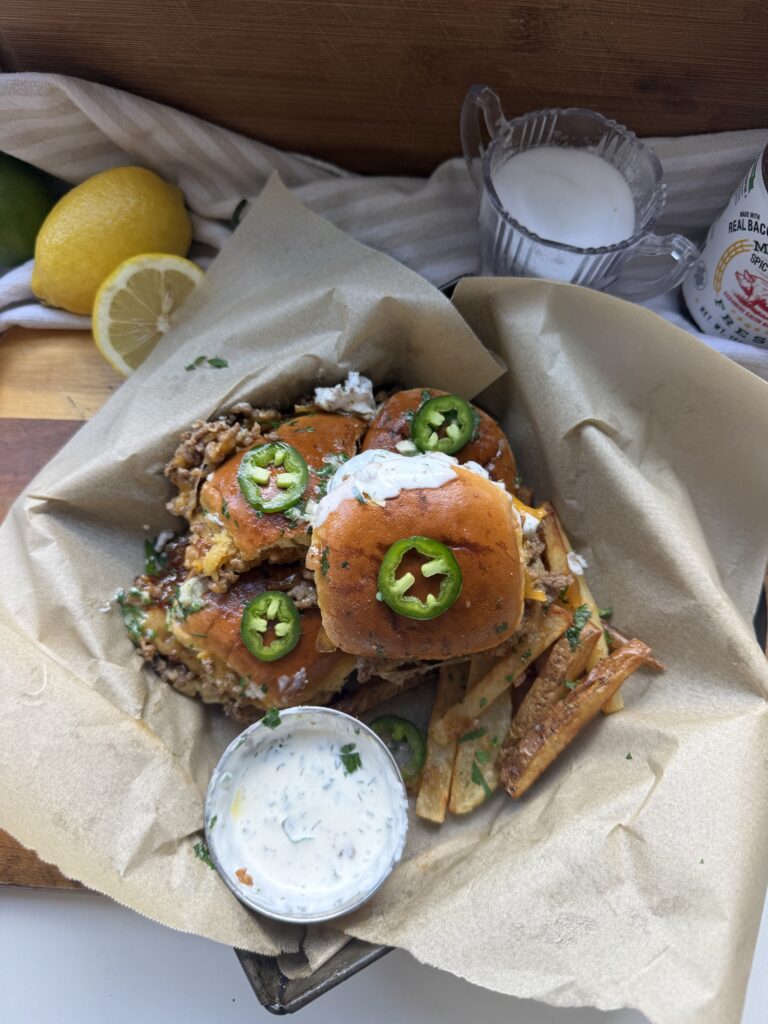

Bacon Jam Cheeseburger Sliders
Description
These Bacon Jam Cheeseburger Sliders are the ultimate comfort food. Made with juicy seasoned ground beef, layers of melty cheese, sweet and savory bacon jam, and tangy pickles, all baked into soft buttery slider buns, this recipe is perfect for game day, parties, or an easy weeknight dinner.
Each bite is packed with flavor — rich, cheesy, slightly sweet, and perfectly savory. The sliders are brushed with garlic butter and baked until golden, making them irresistible and easy to serve a crowd.
Whether you're looking for a quick dinner idea or a standout party dish, these cheeseburger sliders are guaranteed to be a hit.
Ingredients
Beef
Assembly
Garlic Butter
Instructions
-
Cook the Beef
In a large pan over medium heat, cook the ground beef, breaking it apart as it cooks.
Once it is mostly browned, drain any excess grease from the pan. Return the beef to the heat and add paprika, garlic powder, onion powder, adobo seasoning, salt, and Worcestershire sauce.
-
Continue cooking until the beef is fully browned and well seasoned. Remove from heat and set aside.
-
Assemble the Sliders
Preheat your oven to 350°F (175°C).
-
Place the bottom halves of the slider buns into a greased or lined baking dish.
Layer in this order:
- Shredded melting cheese
- Cooked ground beef
- Cheddar cheese slices
- Bacon jam
- Dill pickles
Place the top buns over the sliders.
-
Add Garlic Butter & Bake
In a small bowl, mix melted butter with minced garlic and chopped parsley.
Brush half of the garlic butter over the tops of the buns.
-
Bake for 10–15 minutes, or until the cheese is melted and the sliders are heated through.
-
Finish & Serve
Remove from the oven and brush the remaining garlic butter over the tops.
Let cool slightly, then slice into individual sliders and serve warm.
Note
Tips & Notes
- Drain the beef well to avoid soggy sliders
- Use a mix of cheeses for extra melt and flavor
- Adjust the amount of bacon jam depending on how sweet you want it
- Lightly toast the bottom buns before assembling for extra structure
- Cover loosely with foil if the tops brown too quickly
Serving Suggestions
These sliders are perfect for parties, game day, or an easy dinner. Serve with fries, chips, or a simple side salad.
Final Thoughts
Bacon Jam Cheeseburger Sliders are rich, cheesy, and packed with flavor in every bite. The combination of savory beef, sweet bacon jam, and buttery buns makes them completely irresistible.
They’re guaranteed to be a crowd favorite every time.